How to Photograph Deer in Woodland Without Disturbing Them
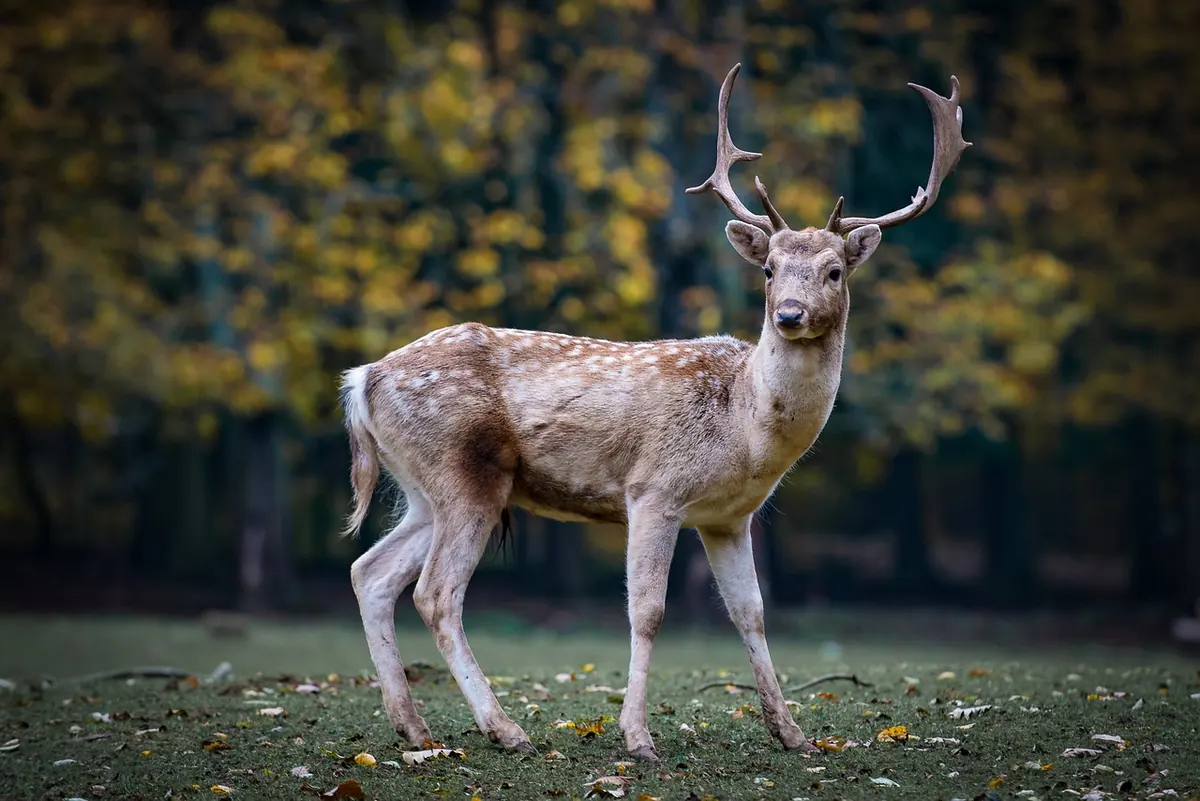
There is a particular twenty minutes before sunrise when a wood stops being a set of trees and becomes somewhere with residents. A blackbird starts up. A branch moves when there is no wind. Then, if you have done the unglamorous work beforehand, a roe doe steps out of the bracken and stands in the last of the blue light. Photographing deer is largely the business of arranging for that moment to happen on terms both of you can live with. The camera matters. The walk in, the wind and your behaviour matter more.
Go out twice with binoculars and no camera. Walk the rides and the edges of the compartments and note where the ground is churned, where saplings have been stripped, where the bracken has been pressed into flat oval beds. Deer sign is easiest to read in daylight and easiest still after rain, when slots in the mud show you direction of travel.
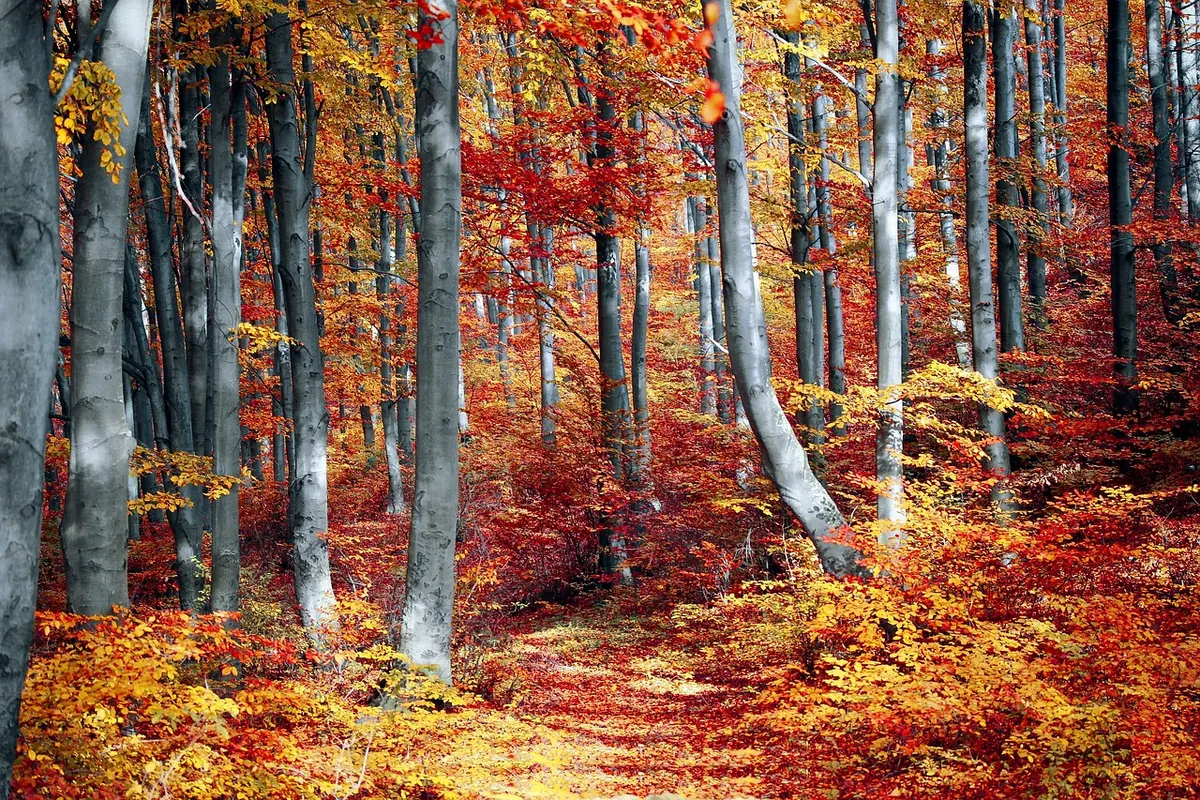
While you are there, look at the wood as a photographer rather than a tracker. Where does the sun come over the edge? Which rides run east to west and will be side-lit at first light? Where could you stand with a trunk behind you and a clear thirty metres of open ground in front? Mark two or three of those places on a map and time how long each takes to reach in the dark.
Wind is the other half of the plan. Woodland deer live by scent, and a shift of a few degrees can end a morning. Check the forecast the night before, then test the actual air on arrival by dropping a few dry leaves or a pinch of chalk dust. Approach so that your scent goes behind you rather than ahead of you.
Deer leave you a map; you just have to learn to read it. Slots in soft ground, droppings along a run, a frayed line where a buck has been rubbing young trees, the smooth tunnels through bracken that stay in use year after year. None of this tells you when a deer will appear, but it tells you where the odds sit.
The best waiting places are the ones you can enter and leave without crossing open ground: the lee side of a fallen tree, a bank of brambles, a hedge line. Sit with the sun behind you where you can, so the deer is looking into light while you sit in shadow, and pick a background that is dark. Dark backgrounds make deer glow; pale backgrounds turn them into grey silhouettes.
Stalking in woodland is not a slow walk. It is a series of short, deliberate movements separated by long pauses, and it begins with a decision about direction that has nothing to do with where the deer happens to be standing.
Dress quietly: wool, fleece, soft cotton, nothing that rustles or shines. Camouflage is optional. A dull green or brown jacket, and something over your face and hands, is not. Voices carry further in a wood than you expect, so put the phone on silent and save the talking for the car park.
There is no universal safe distance, but there is a useful signal: the moment a deer stops feeding, lifts its head and stares straight at you, you are either too close or the wind has given you away. In woodland, most satisfying roe photographs are made somewhere between twenty and forty metres, and a good session is one where the animal carries on feeding. If it walks, you were too pushy. Back off, let it settle, and come back another morning.
Lens choice comes down to how much space the wood gives you.
Carry a monopod or a beanbag rather than a tall tripod; you will be shooting low and often from an awkward angle. Use the lens hood always, and if your camera offers an electronic shutter, use it — the difference between a deer staying and a deer vanishing is often one mechanical click.
Woodland is several stops darker than the field beside it, and dappled light is a trap: bright patches on a deer's flank will blow out while its chest falls into black. Meter for the highlights and let the shadows go where they will, or use spot metering on the animal's neck and check the histogram rather than the screen.
A shutter speed of around 1/250s holds a browsing deer still; 1/500s or faster is safer for a nervous one. Aperture is a judgement call — wide open gives you the shutter speed and the soft background, but at close range you will lose the ears or the eye. Raise the ISO without guilt. Modern sensors handle 3200 and 6400 far better than a blurry photograph handles anything.
Focus on the eye, every time, with a single point you place deliberately. Subject-detection modes are useful, but check what they have locked onto before you fire. Overcast mornings are underrated: the light is flat but steady, and you can work a whole session without chasing a moving sun.
Learn the alarm signals. A head raised and held still, ears swivelled forward, a foot stamped on the ground, a sharp bark — these mean the deer has your number. The correct response is to stop, stay low, and let it settle. If it keeps staring, back away slowly along the route you came, without turning your back on it. If it moves off, that is your answer for the day: do not follow.
Some lines worth holding to. Never push an animal towards a road, a fence or a field with no cover. Give calving grounds and wintering herds a wide berth, and stay out of woods at dawn during the fawning weeks. Keep dogs at home. Leave recorded calls, bait and drones out of it entirely — they change deer behaviour for everyone who comes after you.
If the photograph only works because the deer is frightened, it is not a photograph of a deer. It is a photograph of fear.
Arrive an hour before first light and walk the last stretch without a torch. Sit in a place you have already chosen, wind in your face, background dark, and wait longer than feels reasonable — forty minutes of stillness is often the price of the first appearance. When a deer arrives, take the environmental frame first and then work slowly closer with the long lens, stopping whenever it lifts its head. Leave by the route you came, and note on the map what you saw and where the wind was blowing.
That notebook is worth more than any piece of equipment. Two or three seasons of it and you will know your local woods well enough that the deer stop being luck and start being a plan.
Photo: hashan / Pixabay
Previous Post
Photographing Autumn Leaf Litter: 7 Composition Ideas
Next Post
Building a Forest Photo Story: A 10-Image Narrative Checklist