Building a Forest Photo Story: A 10-Image Narrative Checklist
Ten photographs is a small enough number to hold in your head and a large enough one to say something. Most forest stories fail not because the pictures are weak but because they arrive in no particular order: six lovely frames of ferns, a wide view, a bird, and nothing that ties them together. What follows is the checklist to run through before and after a shoot, so that ten images have a beginning, a middle and an ending that feels earned rather than assembled.
Write one sentence before you leave the house. Not a title — a sentence. A wet morning on the lower trail after three days of rain is a story. The slow collapse of a fallen alder and what grows on it is a story. Forest is not. If you cannot write the sentence, you will come home with a portfolio, and a portfolio reads as a stack.
That sentence does practical work. It tells you which lens to leave behind, what time to arrive, and when to stop shooting. It also sets the emotional register: quiet, bright, damp, close, cold. Keep it in your notes app and read it once mid-walk, when you are tempted to chase something off-brief.
Treat each slot as a job to be filled, not a shot to be copied. You will shoot forty frames to fill ten slots, and that is correct.
The opening image has one job: make someone stop scrolling and want frame two. It does not have to be your most beautiful photograph. In fact, if you lead with the most dramatic image you have, everything after it sags.
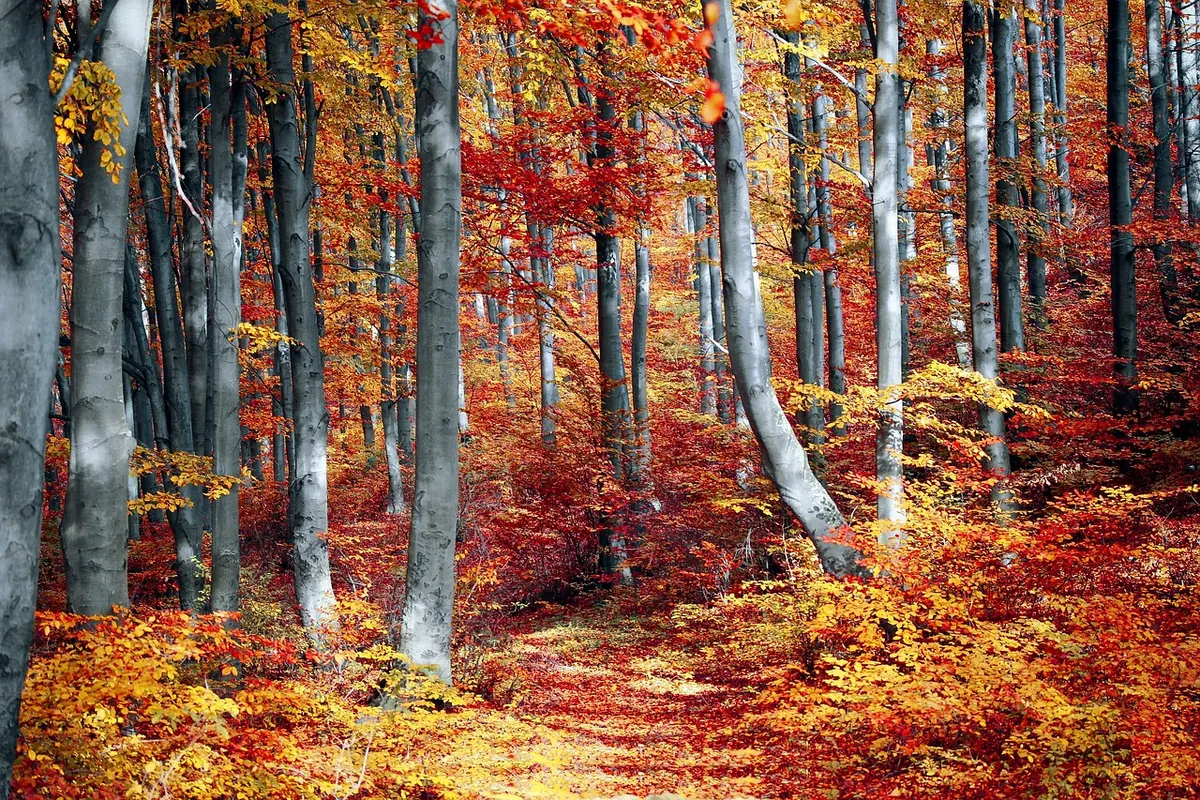
Most forest stories open well with the establishing frame — but shot with intent. Get low so the ferns occupy the foreground and the trail disappears into fog. Put a trunk at the left edge to hold the eye. Give the viewer a way in, not just a wall of green. Avoid opening on an abstract detail; save abstraction for frame seven, when the viewer already trusts you.
The middle of a ten-frame story is where cohesion is won or lost. Two rules carry most of the weight.
Two images of the same subject, from the same height, in the same light, will read as a mistake no matter how good each one is alone. Before you finalise the sequence, lay the frames out as thumbnails and scan for twins. If three consecutive images share a focal length and a quality of light, rework the order. Alternate wide, medium, detail. Alternate horizontal and vertical. Alternate cool shade with a patch of sun.
Stories need a hinge. It can be literal — the rain that started at eleven, the moment the trail left the creek — or compositional: a switch from looking up into the canopy to looking down at the forest floor. Putting the turn at six or seven means the first half establishes and the second half complicates. Shoot extra coverage precisely so you can afford to move this frame around in the edit.
A last frame is not a summary. It is a release. The most reliable closing images are quieter, wider, or more open than what came before: the trail curving out of sight, the canopy edge against sky, a hand resting on a gate, the light gone flat and blue.
Bookending — closing with a variation of the opening view — works, but only if the second frame is genuinely different. Same trail, different hour. Same tree, now in mist. If the two frames look interchangeable, the story will feel like it went nowhere, because it did.
Captions carry the information the photograph cannot, and they should never compete with it. A few working rules:
View all ten as small thumbnails on one screen, not one at a time. Twins and repetitions become obvious at thumbnail size; they hide at full resolution. Read the captions aloud in order and listen for the one that sounds like it belongs to a different story. Look at frame one and frame ten next to each other and ask whether the air has changed between them.
Then cut one. Ten is a target, not a law — if frame nine is filler, publish nine and let the closing frame do its work. Cohesion comes from subtraction far more often than from addition, and a story that ends a frame early always reads better than one that lingers.
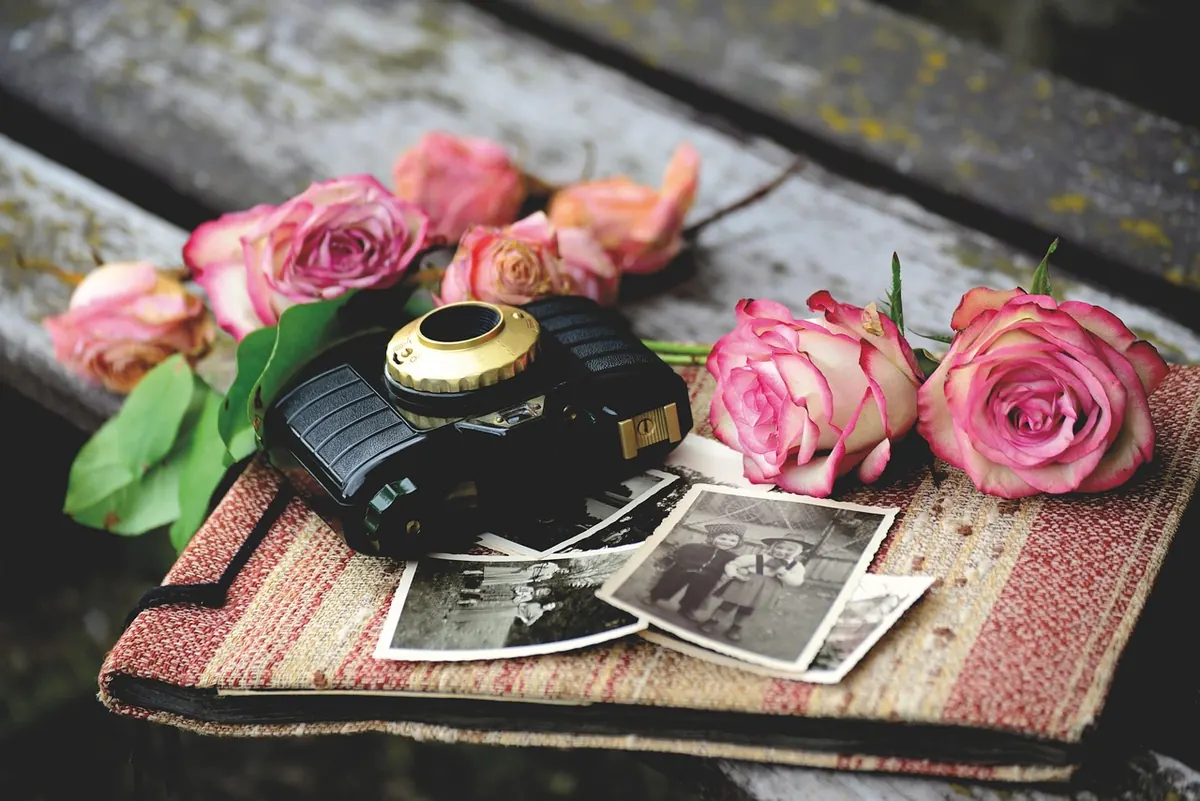
Photo: congerdesign / Pixabay
Previous Post
How to Photograph Deer in Woodland Without Disturbing Them
Next Post
Wide-Angle vs Telephoto Lenses for Forest Photography: Which to Choose