How to Photograph Forest Light Beams: A Step-by-Step Guide
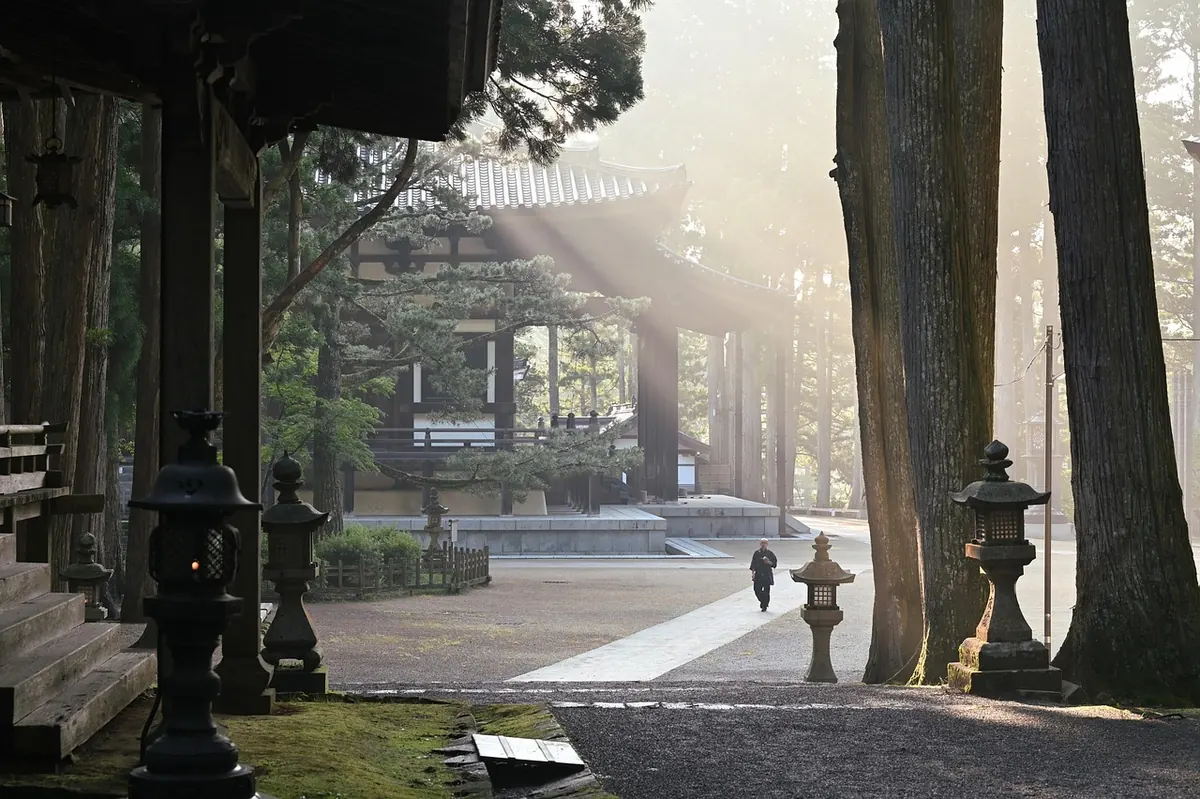
You see it for a few seconds before it disappears: a shaft of light leaning through the trees, catching mist, dust or the fine debris of a summer afternoon. Then a cloud shifts, or the sun climbs two degrees, and the forest goes flat again. Photographing light beams is mostly a matter of being in the right place before the light arrives and knowing exactly what to do in the ninety seconds it stays. The good news is that beams are not luck. They are physics, and physics is predictable.
A visible beam is light scattering off particles suspended in the air. Without something in the air to catch it, sunlight passes through the forest invisibly and you get bright leaves, not shafts. So before you worry about lenses, check the three conditions that make a beam readable.
Wind is the fourth, unofficial condition. Still air keeps mist layered in the canopy where it belongs; a breeze spreads it thin and useless. A very light movement is fine — it animates leaves and gives the shaft a shimmer — but a gusting morning usually means no beams.
Arrive in the dark. Not because darkness is useful, but because the twenty minutes before the sun clears the horizon are when you scout your position, set your tripod and compose — with the beam already in mind. If you show up once the light is good, you will spend the whole window walking.
Check where the sun will rise or set before you leave the house. A compass and a map are enough; a sun-position app on a phone is faster. Then find an edge: the eastern side of the wood at dawn, the western side at dusk. Forest edges, clearings, lakeshores and ridge-top stands all give the low sun a chance to enter at the right angle.
Cloud cover is a matter of taste. Broken cloud is often better than clear sky, because it gives you repeated bursts of direct sun instead of one continuous, flattening glare. Overcast mornings are the wrong morning.
Look up first. Beams are born in the gaps, and a single tall opening in a conifer stand will often channel one strong, unmistakable shaft down to the forest floor. Conifers are generous in this respect: their dense crowns and narrow gaps produce defined columns. Broadleaf woods in full leaf tend to scatter light into dappled patches instead — beautiful, but rarely a beam.
That changes with the season. In early spring, before the canopy closes, and again after leaf fall, hardwoods produce long, dramatic shafts through bare branches. Winter, with low sun and thin air, is quietly one of the best times to try.
When you find a promising gap, don't photograph the gap. Walk until you find the place where the shaft lands — a fern, a mossy stump, a bend in the trail. That's your subject, and the beam is the spotlight. If you can arrange to be crossing the light rather than shooting straight into it, the shaft reads as a solid diagonal shape rather than a smear of glare.
Beams are highlights, and highlights clip first. Your job is to protect the texture inside the shaft while letting the deep forest go dark, which is usually exactly what you want anyway. Point the camera at the scene, take a meter reading, then pull the exposure down by a third of a stop to a full stop, depending on how much bright sky or open mist is in the frame.
Then look at the histogram and the highlight warning. If the entire shaft is a white slab with no internal structure, you have lost the very thing you came for. If the edges of the beam glow and the core sits just below clipping, you're close.
Shutter speed depends on leaves. Around 1/125 second holds foliage still on a calm morning; slower speeds blur it and can look lovely on video but muddy in a still photograph. A tripod is not optional — you are working at small apertures in low light, and framing precision matters more here than almost anywhere else in landscape work.
A polarizing filter is worth carrying but use it with restraint. It deepens foliage and cuts haze beautifully, and it will also cut the atmospheric glow that makes the beam visible. Rotate it, check, and be willing to leave it off entirely.
The eye follows a diagonal, so let the beam travel across the frame rather than dropping vertically through the middle. Vertical orientation suits most shafts, but a horizontal frame works when the light enters from a corner and lands in open shadow on the far side.
Include an anchor. A shaft alone is a nice effect; a shaft falling on a single fern, a fallen log or a curve of path is a photograph. Scale helps too — a tiny figure on a trail turns a pattern into a scene, though in most woods you will have to settle for a tree trunk of recognizable size.
Hide the sun. If the disc is in frame, contrast fights you and flare washes out the edges. Tuck it behind a trunk or a branch and you keep the shaft while gaining a controlled starburst. Check the front element for fingerprints before you start; in backlit forest scenes, one smudge becomes a fog of flare.
Forest floors are fragile. Stay on trails, avoid walking through the beam itself — footprints in moss are hard to forgive and easy to leave — and never shake branches to release "atmosphere." If the mist is not there, come back another morning.
Carry a microfibre cloth. Moving from cold air into a humid wood fogs a lens in seconds, and gear benefits from fifteen minutes to acclimatize inside a closed bag. Keep your movements slow and quiet; the best beam of the morning is often interrupted by something with antlers.
When the light arrives, work in this order. Identify the shaft and the spot where it lands. Set the tripod low or high depending on whether you want an understory foreground or a canopy view. Choose aperture for depth, then meter, then pull the exposure down until the beam has texture. Compose so the light crosses a corner. Shoot a bracket, check the histogram, then move two steps left and shoot again — the beam changes character with a metre of movement. When the light dies, don't leave immediately. Note the gap, the time and the direction, then return on the next morning with similar weather. That is how a lucky shot becomes a repeatable one.
Photo: yamabon / Pixabay