Camera Settings for Misty Woodland Photography: A Beginner's Cheat Sheet
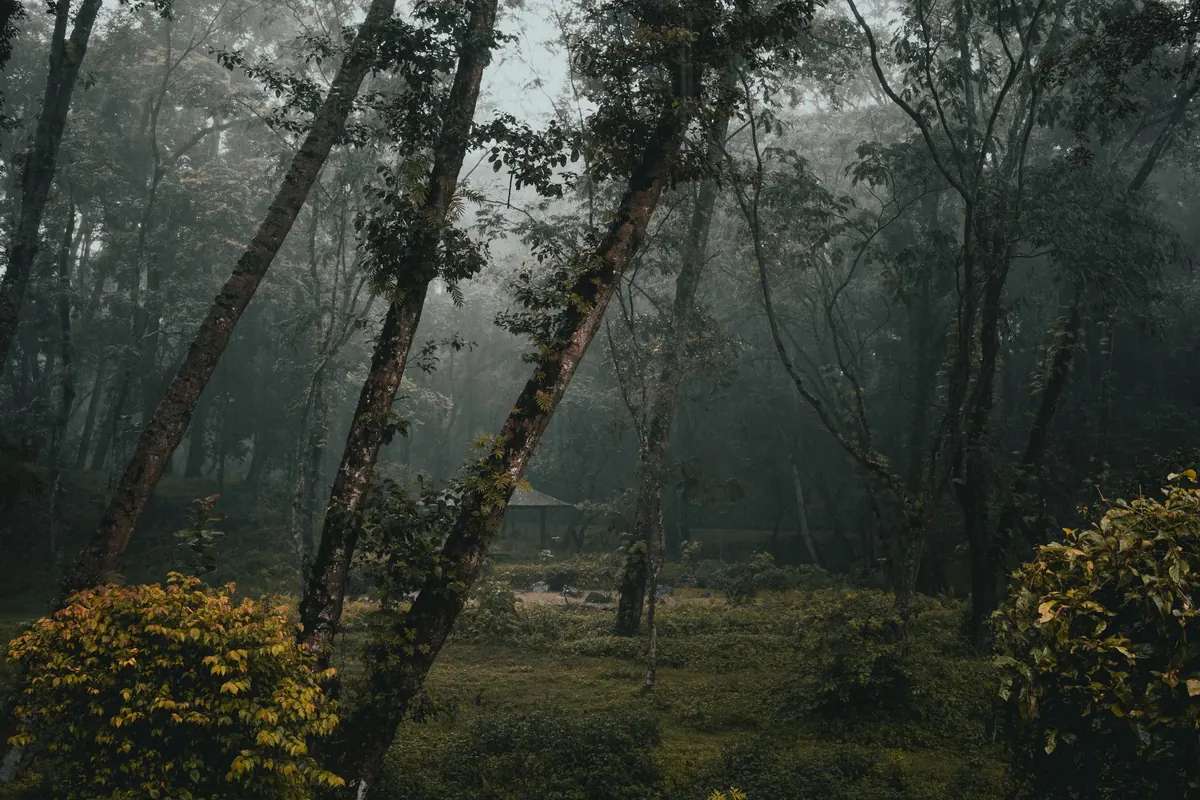
Fog does two things to a wood at once: it hides information and it adds atmosphere. The far treeline disappears, the mid-ground turns into a stack of soft grey planes, and a single oak twenty metres away becomes the whole photograph. It is beautiful to look at and awkward to shoot. Autofocus hunts, the histogram crowds into the middle, and the light shifts while you are still deciding which trunk to point at.
What follows is a set of starting points, not a rulebook. Load them into the camera before you leave the house, then adjust one thing at a time once you see what the mist is doing.
Work in manual mode and RAW. Manual matters more in fog than in almost any other condition, because mist drifts and thickens between frames; automatic modes will quietly re-meter each shot and hand you a sequence with wildly different brightness, which is a nuisance when you get home and want three images to sit together. RAW gives you room to pull detail out of a soft, low-contrast file.
Here is a sensible starting set for a wooded scene in fog, roughly an hour after sunrise:
Take one frame, look at the histogram, and correct. The rest of this sheet is about which correction to make.
Mist is a depth tool. It separates layers, so your aperture choice is really a decision about how many layers you want legible.
At f/8 you get a comfortable balance: the nearest trunks crisp, the second row softening, the third dissolving. That is often all a misty wood needs. Open up to f/5.6 when you are close to a single branch, fern or spider web and want the background to melt into grey. Stop down to f/11 when a fallen log runs from your feet into the frame and you want it usable from front to back. Beyond f/13 or so, most lenses lose a little bite, and in a scene built on delicate detail that softness is rarely flattering.
Focal length changes the picture more than beginners expect. A wide lens exaggerates space, which suits a path vanishing into fog — but only if you give it a strong foreground subject a metre or two away. Without one, wide-angle fog shots turn into empty grey rectangles. A short telephoto, somewhere between 70mm and 200mm, compresses the layers, so trunks appear to stand shoulder to shoulder and the mist reads as repeated veils. Both approaches work; try both on the same morning.
Fog itself moves slowly, so you can often get away with 1/30 sec or even 1/15 sec and capture a soft, painterly drift. Leaves are the problem. A light breeze will smear foliage at those speeds, and smeared leaves look like a mistake rather than an intention. If there is any wind, aim for 1/125 sec or faster.
When the light drops, you have to spend something: shutter speed or ISO. Ask yourself which is more damaging. On a still morning, raise ISO to 800 and keep the shutter at 1/125. In flat, even mist, a little noise is nearly invisible because there are no harsh transitions to exaggerate it. On a windy morning with a subject that must stay sharp, ISO 1600 is a fair trade. Detail you can recover; blur you cannot.
A tripod still earns its place. It lets you slow down, frame precisely, and shoot several exposures of the same composition as the mist thickens or thins. Use a two-second delay or a remote release, and switch stabilisation off when the camera is on the legs.
Your meter wants to make the world mid-grey. Fog is much brighter than mid-grey, so left to itself the camera darkens it into a dull, dirty wash. The fix is positive exposure compensation: start at +2/3 EV, and go to +1 EV or even +1 1/3 EV when the mist fills most of the frame.
Then check the highlights. Turn on the highlight warning and glance at the histogram. You generally want the brightest mist sitting just below the clipping point, so the fog reads white but still holds a hint of tone. Some photographers let the brightest patches blow out deliberately for a cleaner, more graphic look, which is a legitimate choice — just make it consciously and check that thin branches against the sky have not disappeared entirely.
When sun starts to break through and you get beams between trunks, the contrast range jumps. Set your camera to bracket three frames at one-stop intervals. It takes a second and it means you come home with one version that holds the bright beam and one that keeps the shadowed trunk detail. You can blend them later, or simply keep the better single frame.
Autofocus needs edges, and fog eats edges. The result is a lens that racks back and forth and finally settles on nothing. A few habits solve most of it.
Keep a single focus point and place it deliberately on a nearby trunk, branch or rock — something with a defined line. Focus, then recompose carefully if you need to. If your camera has back-button focus, use it: focus once on your chosen subject, release the button, and the lens stays put while you reframe and wait for the mist to do something interesting.
If the lens searches twice, stop fighting it. Switch to manual focus, go to live view, and magnify the screen five or ten times on the detail you care about. Focus peaking helps if your camera offers it. This is slower, and in fog that is fine — nothing in the scene is in a hurry.
In clear conditions, focusing a third of the way into the scene is a useful shortcut. In fog, everything beyond thirty metres is a suggestion anyway, so focus on the nearest element that matters and let the rest soften. That falloff is exactly how the eye sees a misty wood. At 24mm and f/11, focusing three or four metres away will usually hold everything you can actually see.
Leave white balance on daylight, or on the cloudy preset if you want a slightly warmer file. What matters is that it stays the same all morning. Auto white balance drifts as the light changes, which makes two frames of the same scene look like they came from different days. Mist under a blue dawn reads cool and slightly cyan, and that is usually worth keeping — a heavy warm shift can turn a genuine atmosphere into something that looks like a filter.
Fog means moisture, and moisture on the front element ruins contrast before any setting can help. Use a lens hood, wipe the glass with a dry microfibre cloth, and shield the lens with your hand when you shoot towards brighter sky. Avoid changing lenses in the open; if you must, turn your back to the wind and work fast. Going from a cold car into a warm, damp wood is the classic recipe for condensation, so let the camera acclimatise inside a closed bag before you start shooting, and keep a sachet of silica in your pack.
Arrive, set the baseline, and then work through this quickly before you start composing:
Fog rewards patience more than equipment. Get the exposure and focus right early, then stop fiddling with the camera and start watching the wood. The best frame of the morning is usually the one you take ten minutes after you thought you were finished.
Photo: Beepin4 / Pexels
Previous Post
How to Photograph Forest Light Beams: A Step-by-Step Guide
Next Post
A 3-Hour Woodland Walk Photography Checklist for Early Spring